
Old-Fashioned Oatmeal Chocolate Chip Cookies: A Soft, Chewy Classic You Can Bake in 20 Minutes
A cookie that belongs in every baker’s rotation
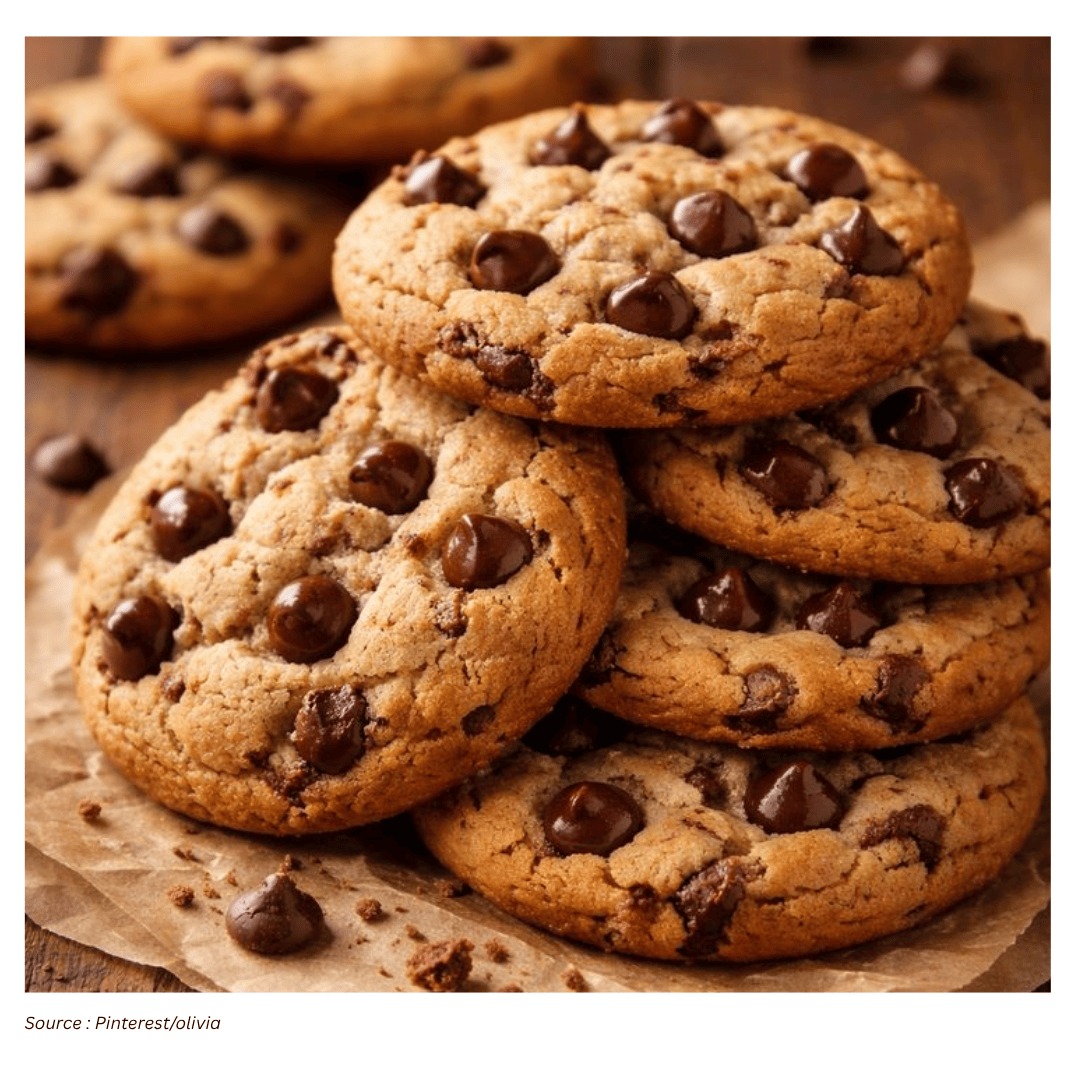
A dependable oatmeal cookie recipe is one of those foundational bakes that earns its place in a kitchen notebook. This old-fashioned oatmeal chocolate chip version is built around a familiar, comforting combination: hearty rolled oats and pockets of melted chocolate chips. The result is a cookie that’s soft and chewy, with a nutty oat backbone and a buttery dough that tastes as cozy as it smells.
Rolled oats do more than add flavor. They bring texture and a wholesome, hearty bite that sets oatmeal cookies apart from other classics. Paired with chocolate chips, that oat chew becomes a perfect counterpoint to the sweetness and melt of chocolate. It’s the kind of cookie that feels at home on a casual weeknight, but it can also be dressed up for gatherings—simple, recognizable, and consistently popular.
Another reason this recipe fits so easily into everyday life is speed. The cookies bake in about 10 to 12 minutes, and the overall process is quick enough that you can go from mixing bowl to warm cookies in roughly 20 minutes of bake time. When you want something homemade without turning the kitchen into an all-day project, this is the type of recipe that delivers.
What makes these cookies taste “old-fashioned”
“Old-fashioned” here isn’t about complicated techniques or hard-to-find ingredients. It’s about familiar building blocks and a classic method: creaming softened butter with a mix of brown and granulated sugar, adding eggs and vanilla, then folding in a simple dry mix before portioning the dough onto parchment-lined sheets.
The ingredient list is intentionally straightforward. It relies on pantry staples and a few basics you likely already keep on hand. The rolled oats are central to the cookie’s character, giving the finished bake a hearty texture. Chocolate chips provide the signature sweetness and melty contrast in every bite. Together, they create a cookie that’s comforting and crowd-pleasing without needing extra fuss.
Ingredients you’ll need (and why they matter)
This recipe uses a mix of refrigerated staples and pantry standards. Here’s what to gather before you start:
- Unsalted butter (softened): Provides richness and helps create a tender, chewy texture.
- Eggs: Add structure and help bind the dough.
- Rolled oats: Heartier and less processed than quick oats, contributing chew and a nutty flavor.
- Brown sugar: Adds moisture and chewiness, with a deeper sweetness.
- Granulated sugar: Balances sweetness and helps with spread and texture.
- All-purpose flour: Forms the base structure of the cookie.
- Baking soda: Supports lift and spread.
- Vanilla extract: Rounds out the flavor.
- Salt: Sharpens and balances sweetness.
- Chocolate chips: Provide melty sweetness in every bite.
Rolled oats are specifically recommended because they’re heartier than quick oats and contribute to the classic oatmeal-cookie texture. Quick oats can be used if you want a slightly less chewy cookie, but steel-cut oats should be avoided because they won’t soften the same way during baking.
Step-by-step method: from bowl to baking sheet
The process is approachable even for newer bakers. The key is to set up your baking sheets first and then mix in a sensible order so the dough comes together smoothly.
- Prep the pans: Line two baking sheets with parchment paper.
- Cream the butter and sugars: Add softened butter, brown sugar, and granulated sugar to a large bowl. Using a hand mixer, beat for about 3 minutes.
- Add eggs and vanilla: Beat in the eggs and vanilla for about 1 minute.
- Mix dry ingredients separately: In another bowl, whisk together flour, baking soda, and salt.
- Combine wet and dry: Gradually add the dry mixture to the wet mixture, mixing until just combined.
- Portion the dough: Drop rounded tablespoons onto the prepared baking sheets, spacing about 2 inches apart (around 15 cookies per sheet).
- Bake: Bake for 10 to 12 minutes, until edges are set and lightly golden brown.
- Cool briefly: Let the cookies cool for about 5 minutes before serving.
That short cooling window matters. The cookies continue to firm up as they cool, which means you don’t need to keep them in the oven until they look fully “done” in the center. Pulling them when the outer rim turns golden brown helps preserve the soft, chewy texture.
How to know when they’re perfectly baked
Timing and visual cues work together here. Aim for 10 to 12 minutes, and watch for edges that are set and lightly golden. The centers may still look soft when you remove the tray, but that’s expected. As the cookies cool, they firm up naturally.
Leaving them in longer than necessary can shift the texture from chewy to crisp and dry. If your goal is that classic soft-and-chewy oatmeal cookie bite, it’s better to rely on the golden rim cue and let the cooling process finish the job.
Tips that make a noticeable difference
This is an easy recipe, but a few small details can elevate it from “good” to “exactly right.”
- Use properly softened butter: The butter should be softened but not melted. Let it sit at room temperature for 30 to 60 minutes. It’s ready when a light press leaves a small indent.
- Speed-soften if needed: If you forgot to set the butter out, cube it and spread it in a single layer. It should soften in about 5 to 20 minutes.
- Don’t overmix: When combining wet and dry ingredients, mix only until everything is incorporated. Overmixing can affect texture. Mixing by hand can be an effective way to avoid going too far.
- Give them space: Place dough mounds about 2 inches apart. They spread as they bake, and crowding can lead to uneven edges.
These tips are simple, but they directly support the cookie’s intended texture: soft, chewy, and evenly baked with a lightly golden edge.
Smart make-ahead: freezing the dough for later
One of the most practical advantages of this recipe is how well it fits into a make-ahead routine. The batch makes quite a few cookies, so freezing part of the dough is a convenient way to have fresh-baked cookies on demand without mixing a new batch from scratch.
There are two straightforward freezing approaches:
- Freeze a portion of dough as a mass: Wrap the dough in plastic wrap, place it in a freezer-safe container, and freeze for up to 3 months.
- Freeze individual portions: Scoop the dough into cookie-sized portions, lay them on a tray to freeze, then transfer the frozen portions to a freezer bag.
The portioned method is especially handy when you want to bake a smaller number at a time. Either way, having dough ready in the freezer makes it easier to turn an ordinary afternoon into a warm-cookie moment with minimal effort.
Ingredient substitutions that still keep the cookie “classic”
Flexibility is part of what makes a recipe worth keeping. If you’re missing an ingredient or want to adjust the cookies to suit your preferences, several substitutions can work well while staying true to the original style.
- Unsalted butter vs. salted butter: Salted butter can be used in place of unsalted. If you do, you can skip the added salt in the recipe.
- Butter alternative: Melted coconut oil can replace butter. Refined coconut oil is the best choice if you don’t want coconut flavor in the cookies.
- Brown sugar swap: You can replace brown sugar with additional granulated sugar, but expect a crispier cookie.
- Vegan option: Use dairy-free butter and flax eggs. For two flax eggs, mix 2 tablespoons ground flax seeds with 5 tablespoons water and let it sit for 10 minutes to gel. Use dairy-free chocolate chips as well.
- Oat choice: Quick oats can be used for a slightly less chewy texture, but avoid steel-cut oats.
Each substitution nudges the texture or flavor slightly. For example, swapping brown sugar for granulated sugar changes the chew level, and using quick oats changes the bite. Knowing what will shift helps you choose substitutions intentionally rather than guessing.
Easy mix-ins to customize without overcomplicating
Once you’ve made the base recipe, it’s easy to personalize future batches. The dough welcomes add-ins that complement oats and chocolate without needing any changes to the method.
Two popular directions are nuts and dried fruit:
- Nuts for crunch: Fold in about 1/2 cup chopped walnuts or pecans at the end, along with the chocolate chips, for extra crunch and nuttiness.
- Dried fruit for a different sweetness: Dried cranberries, cherries, or raisins can add a chewy, tangy-sweet element.
These additions keep the cookie recognizable while letting you tailor it to the occasion—whether you want something a little more textured, a little more festive, or simply different from your last batch.
Serving and texture: why a short rest is part of the recipe
After baking, a brief cooling period—about 5 minutes—helps the cookies set enough to handle while still staying warm and soft. This is also when the chocolate chips are at their most melty and the aroma is at its peak.
If you’re aiming for that soft-and-chewy finish, resist the temptation to overbake. The cookies firm up as they cool, and pulling them at the right moment is what protects the tender texture. When done well, you’ll get a lightly golden edge, a soft center, and a hearty chew from the rolled oats.
A reliable cookie for everyday baking
This old-fashioned oatmeal chocolate chip cookie recipe is designed to be both comforting and practical. It uses simple pantry staples, comes together quickly, and bakes in 10 to 12 minutes. The method is straightforward, and small technique choices—like properly softened butter, minimal mixing, and pulling the cookies when the rim turns golden—make a real difference in the final texture.
Just as importantly, it fits real-life schedules. You can freeze the dough for up to three months, portion it for quick baking later, and adapt the ingredients when needed—whether that means swapping sugars for a different texture, using refined coconut oil, or making a vegan version with flax eggs and dairy-free alternatives. Add nuts or dried fruit when you want to customize, or keep it classic for a batch that’s familiar, warm, and reliably satisfying.