
Easy Chocolate Chip Scones: A Simple, Buttery Breakfast Bake With a Crumbly Edge
A breakfast bake for cookie cravings
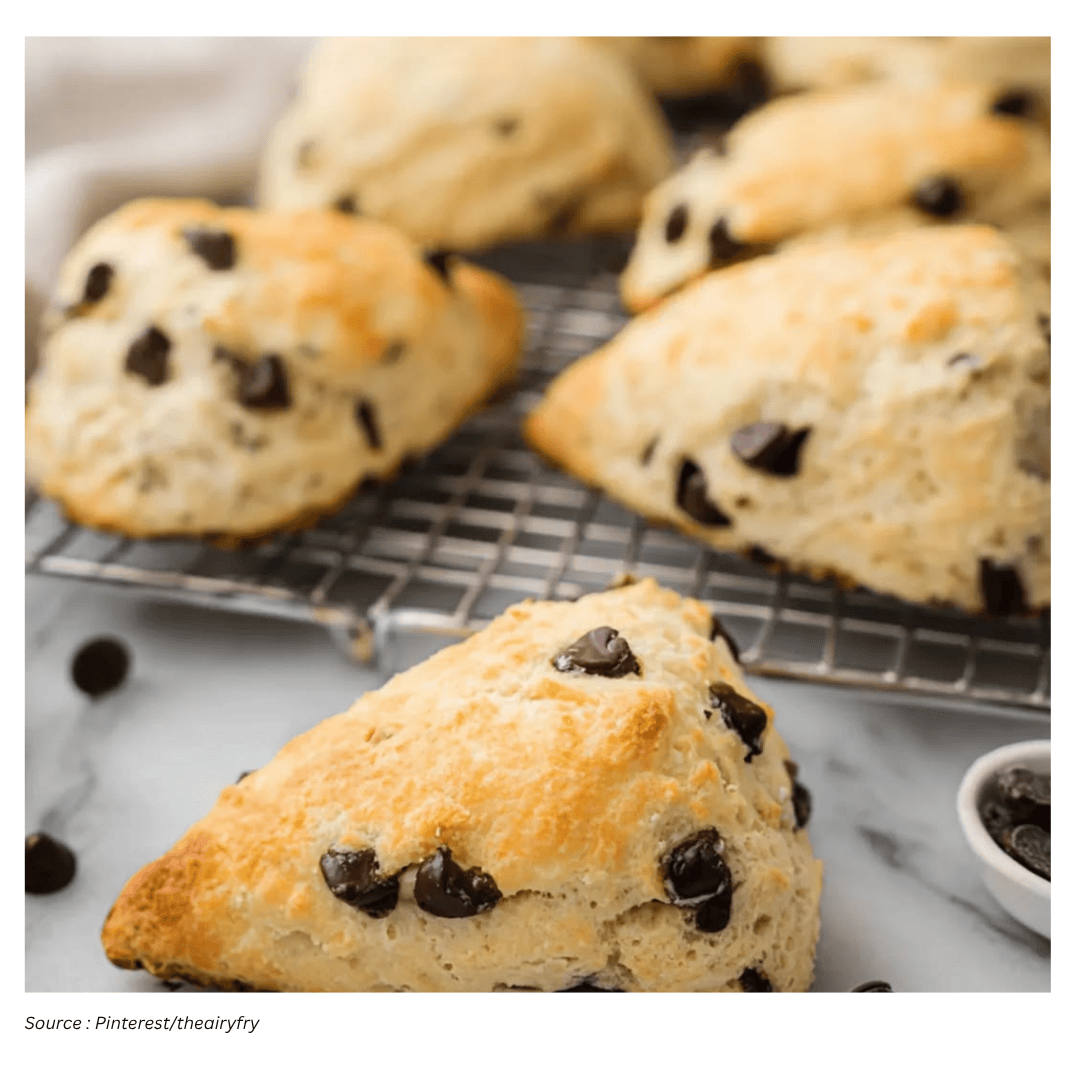
There are mornings when a bowl of cereal feels like an afterthought, and a full pancake project is more than you want to take on. That’s where chocolate chip scones can fit perfectly: they deliver the comfort of a bakery-style treat while staying firmly in the “doable before coffee” category. The appeal is straightforward—slightly sweet, buttery, and tender, with a crumbly edge and pockets of chocolate that make them feel like a breakfast-friendly nod to chocolate chip cookies.
These scones are often described as the British version of a biscuit, and that comparison is helpful for setting expectations. Think of the structure and simplicity of a biscuit, but with a little sugar and, in this case, chocolate chips. The result is a bake that can feel special without being fussy.
How scones compare to biscuits—and why this version is intentionally simple
If you’ve made flaky buttermilk biscuits before, you’ll recognize the overall method and the importance of handling the dough gently. Scones and biscuits share a family resemblance: both rely on cold butter worked into dry ingredients and a quick mix with a tangy dairy component like buttermilk. The main difference, in the simplest terms, is that scones typically include some sugar, which shifts them toward a slightly sweet breakfast or snack.
There’s also a common distinction people make between scones and biscuits regarding eggs. Scones often include eggs, while biscuits generally do not. However, this particular approach omits the egg on purpose. The reasoning is practical: leaving out the egg is a way to pursue a lighter, flakier texture rather than a richer, more cake-like mouthfeel. In other words, it’s an “Americanized” take that aims for layers and tenderness.
The core method: whisk, cut in butter, add buttermilk, shape, cut, bake
Homemade scones can sound intimidating if you associate them with bakery displays and specialty coffee shops. In practice, the workflow is simple and quick. The process can be summarized in a few steps:
- Whisk together the dry ingredients.
- Work cold butter into the dry mixture until it resembles small crumbs.
- Mix in buttermilk to bring the dough together.
- Shape the dough into a disc, then cut into portions.
- Bake until set and lightly browned.
That’s the whole idea: a straightforward dough, minimal handling, and a shape that doesn’t require special equipment. The shaping is deliberately low-stress—patting the dough into a disc and cutting it to size. It’s not complicated, and it’s designed for repeat baking.
Why cold butter and gentle handling matter
The texture people love in a good scone—light, layered, and buttery—depends heavily on two habits: using cold butter and avoiding overworking the dough. When butter is cold and broken into small pieces within the flour, it creates the potential for flaky layers as it melts in the oven. If the dough is overmixed or handled too aggressively, those pieces can smear into the flour and the final bake can lose some of its flakiness.
To keep the butter in the right form, a pastry cutter or even knives can be used to cut it into the dry ingredients until the mixture looks like small crumbs. Some bakers also like to freeze butter before working it in. The goal is the same: keep everything cool and move efficiently.
Once the dough comes together, hands are often the easiest tool for shaping. It can be messy, but the tradeoff is control—you can gently pat and form the dough without compressing it too much. The guiding principle is simple: handle it only as much as needed to shape and cut.
A practical buttermilk workaround if you don’t have it
Buttermilk is a key part of the flavor and tenderness here, but it’s also one of those ingredients people don’t always keep on hand. There is a simple at-home substitute that uses ingredients many kitchens already have. If you don’t have buttermilk available, you can make a quick version by combining:
- 1 tablespoon vinegar or lemon juice
- 1 cup milk
Let the mixture stand at room temperature for 10 minutes, and it’s ready to use. This approach is meant to keep the recipe accessible, especially for spontaneous baking mornings.
Chocolate chips: how much is “right” depends on your taste
Chocolate chips are the headline ingredient, but the ideal amount is personal. Some bakers love a generous distribution in every bite, while others find the result too chocolate-forward and prefer the scone itself to be the star. Feedback from home bakers reflects that range: one person found there were too many chips for their taste and planned to use fewer next time, possibly switching to mini chocolate chips for a more even spread.
Others take the opposite view—keeping the full amount because family members prefer it that way. The broader takeaway is that the base dough is strong enough to support adjustments. If you want more emphasis on buttery, flaky crumb, reduce the chips slightly. If you want a more dessert-like breakfast, keep them generous.
Shaping and keeping the scones from spreading
Even with careful measuring, some bakers notice that their scones don’t always hold a perfect shape. There are a few practical strategies mentioned for improving structure and encouraging cleaner edges.
- Chill the dough: Placing the shaped scones in the freezer for about 15 minutes before baking can help them keep their form.
- Keep ingredients cold: Cold butter is essential, and some bakers also chill components of the mixture to maintain a cooler dough.
These steps are small, but they can make a noticeable difference, especially if your kitchen is warm or if the dough sat out while you were shaping.
Freezing options: before baking or after baking
One of the most convenient features of this style of scone is that it can fit into different schedules. You can freeze the scones either before baking or after baking. That flexibility makes them useful for meal prep, gifting, or simply ensuring you have something ready for a quick breakfast later.
If you freeze before baking, you can bake on demand. If you freeze after baking, you can store finished scones and pull them out when you want a ready-made treat. Either way, the recipe is designed to be adaptable.
How to tell when they’re done
Because ovens vary and browning can happen quickly, doneness is best judged by texture rather than time alone. A simple check is to break one open. The interior shouldn’t look wet or doughy, but it should still be slightly moist. That balance—set but not dry—is what keeps the scones tender.
Home bakers report making small timing adjustments based on how quickly their scones browned. One person pulled them from the oven a few minutes early after noticing browning and was happy with the result. That kind of observation is useful: watch the color, then confirm with the interior texture if you’re unsure.
Texture expectations: flaky, light, and buttery—though results can vary
The intended texture is light and flaky, with layers that feel delicate rather than dense. Many people describe these scones as “not-dense,” highlighting that the crumb stays airy and tender. Some even note that the scones win over people who typically don’t like scones, precisely because the texture is lighter than expected.
That said, not every bake turns out identical. One baker described their result as softer, more like a muffin than as flaky as they hoped. In response, attention returned to the same foundational tip: keep butter cold. The method is simple, but the details—temperature and handling—matter.
Ingredient swaps and variations people have tried
Although chocolate chip is the classic direction, bakers frequently use the same base approach with other mix-ins. The feedback includes variations such as:
- Frozen blueberries
- Dried cranberries
- Pecans (including toasted or roasted)
- Combining two mix-ins by splitting the total amount (for example, cranberries and toasted pecans)
Other substitutions mentioned include using semi-sweet chocolate chips when dark chocolate wasn’t available, or swapping flours (such as einkorn/spelt in place of unbleached flour) and using homemade yogurt instead of buttermilk. These examples underscore the versatility of the base technique, while still keeping the overall method consistent: a quick dough, gentle shaping, and a bake that aims for tenderness.
Sweetener preferences also vary. One baker substituted brown sugar because they enjoy its flavor. Another sprinkled powdered sugar on top after baking to mimic a bakery finish. These are small changes that can shift the final impression without changing the underlying structure.
Working with whole wheat flour: adjusting liquid for consistency
Using whole wheat flour can change the dough’s feel and hydration needs. Whole wheat tends to absorb more liquid than all-purpose flour, which can leave the dough drier than expected. The practical fix is modest: add an additional 1–2 tablespoons of buttermilk to reach the right consistency.
As for buttermilk choice, whole fat buttermilk is considered fine. The key is to adjust the liquid gradually so the dough comes together without becoming overly wet.
Serving ideas: coffee, gifting, and simple additions
Chocolate chip scones are often framed as a quick breakfast to pair with a cup of coffee, and that’s a natural match. They also work as a shareable bake. Some people describe them as a great gift, especially when paired with simple accompaniments like cheese or jam. The scones can stand on their own, but they also play well with pantry staples that turn them into an easy breakfast spread.
What home bakers notice after repeated batches
Repeated baking tends to sharpen what people value most about this style of scone: reliable results, a buttery flavor, and a texture that feels lighter than many store-bought versions. Several comments compare the outcome favorably to grocery store scones and even to café offerings, emphasizing that the homemade version feels fresher and more satisfying.
Some bakers also observe how texture can change as the scones cool. When still warm, they may feel more cake-like, while after cooling (even overnight) they can settle into a firmer bite that isn’t overly crumbly. These observations reinforce a useful point: the eating experience can shift depending on when you serve them.
Key takeaways for consistent results
- Keep butter cold and cut it into small crumbs using a pastry cutter or knives.
- Don’t overwork the dough; mix just until it comes together.
- Shape gently into a disc, then cut to size.
- Chill before baking if you want cleaner shape and less spread (a short freezer rest can help).
- Check doneness by texture: the interior should be set and slightly moist, not wet.
- Adjust for whole wheat flour with an extra 1–2 tablespoons of buttermilk if needed.
A simple recipe that rewards small technique choices
These easy chocolate chip scones succeed because they focus on the fundamentals: a quick mix, cold butter for flakiness, and a gentle hand. They’re meant to be approachable—something you can pull together without specialized skills—yet they still offer the pleasure people look for in a bakery scone: buttery layers, a tender crumb, and chocolate in every bite.
Whether you prefer fewer chips, mini chips, or a generous handful, the base method is adaptable. And if you want to plan ahead, the option to freeze before or after baking makes them practical as well as satisfying. For anyone who wants a warm breakfast bake that pairs naturally with coffee and feels a little indulgent without being complicated, chocolate chip scones are an easy place to start.